Are you tired of dealing with spurts of water and a leaky hose sprayer? Do you dread having to replace your entire hosepipe just because of a broken or dribbling attachment?
Before you go and purchase a new water hose attachment, you may find that fixing a spray gun can be simple.
Contents
Locating The Leak
First, it is important to understand the root cause of the problem…
In my experience, 9 out of 10 sprayers eventually leak at some point.
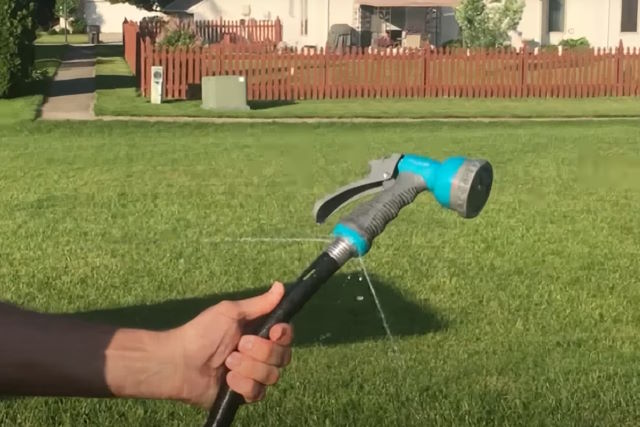
There are normally 2 areas where a trickle may be originating. They are described in the table below along with their approximate required work time:
| Area | Details | Time |
|---|---|---|
| Hose Connection | Water is escaping from the joint between the hose end and the attachment. | 2 minutes |
| Nozzle | Water is seeping from the attachment itself. | 10 minutes |
A dripping hose attachment can be caused by several issues, including a damaged or broken sprayer, bad gaskets or rubber washers, a dry O-ring, or damaged threads.
Any seal will eventually become worn and seep water.
Freezing temperatures and colder weather during the winter months are often the reason for hoses and their components to become damaged.
Extreme heat or sun exposure can be another reason for parts to crack and discharge water.
A pipe used for irrigation or heavy gardening that is running water for long periods will become worn in a shorter time.
How To Fix The Joint Between The Hose And Nozzle
If you have an issue at the connection to the spray gun or sprinkler, the process is fairly simple:
1. Inspect The Gaskets
Unscrew the attachment. Or if it has a simple quick-connector or pull-off mechanism, you should be able to remove it easily.
If it is stuck, some more elbow grease may be required. See our guide on how to prevent a hose nozzle from getting stuck.
There should be an o-ring present within the connection.
If this is missing, you can simply add one. Replacement washers and repair kits are available online or at a local hardware store such as Lowes.
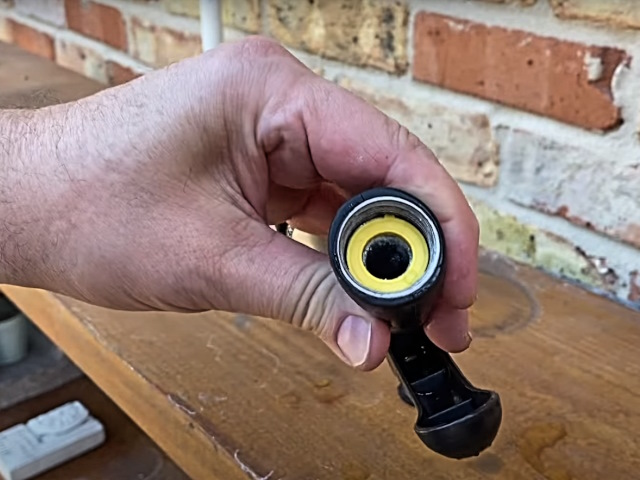
If the connector washer is visible, lever it out with a flat-head screwdriver or needle nose pliers and inspect it for damage or wear. You should replace the washer with a new one if it is:
- Cracked – A cracked gasket will likely be weakened and allow water to drip through it.
- Brittle – The washer should have some softness when squeezed to provide a secure seal in the hose connection.
- Shows obvious signs of wear – Rounded edges or a loose fitting are signs of wear that can result in water seepage.
If the washer is in good condition, you can apply some silicone grease to it and then reinsert it.
Screw the hosepipe connector back to the spray gun tightly and test the water flow.
2. Seal The Hose Threads
You can create a better seal between the connector and an attachment with some plumber’s tape, PTFE tape or Teflon tape.
You should do this when:
- The gasket is in good condition but water still passes it.
- The threads appear to be damaged, rusted, or worn.
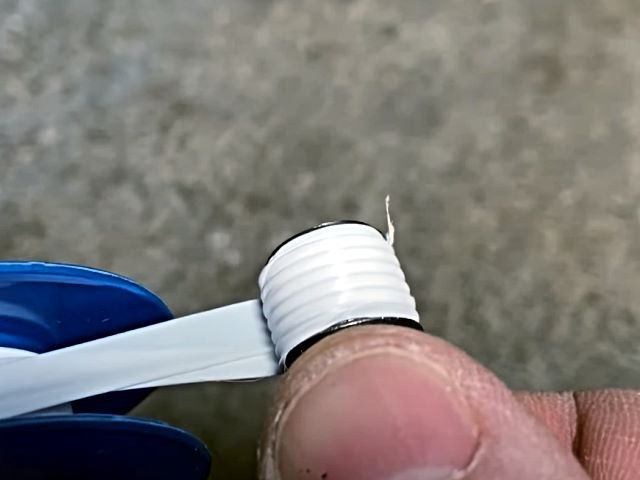
Simply wrap the PTFE tape around the threads 2 to 4 times and screw it back into the sprayer fitting with the tape still attached to the threads.
This creates a watertight seal and also provides some lubrication to prevent the fitting from becoming seized to the connection in the future.
How To Restore Your Leaky Spray Attachment
If water is discharging directly from the attachment, follow these steps:
Fill External Cracks
If your garden spray gun is badly damaged, perhaps from being left outdoors over winter or in bad weather, it may have visible cracks emanating water.
A good solution is to fill cracks with epoxy putty to make them watertight again. Follow these steps to repair your nozzle cracks:
- Ensure that the attachment is completely dry. If it is not dry, take it indoors and leave it to dry out for 24 hours.
- Apply your epoxy completely filling the crack which is dripping water.
- Leave the epoxy putty to cure for 24 hours.
- Reconnect the attachment and allow water to flow through it to test it for damage.
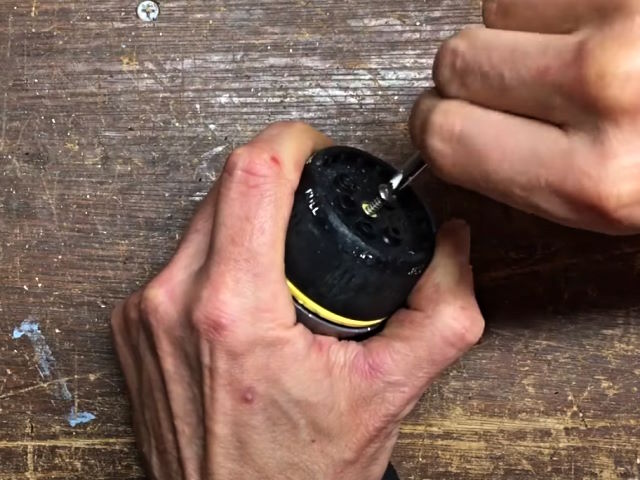
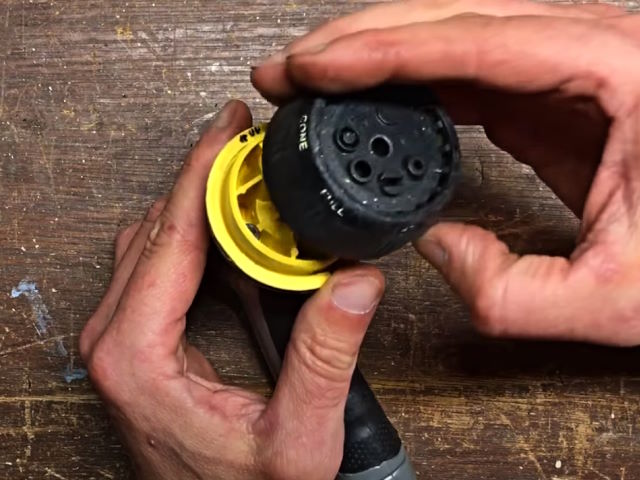
Dismantle Your Sprayer
If your accessory is leaking internally, then there is no other option aside from dismantling it. Every model of hose attachment is disassembled differently, but they can usually be put right using some simple tools.
Here is how I dismantled an old Melnor fitting:
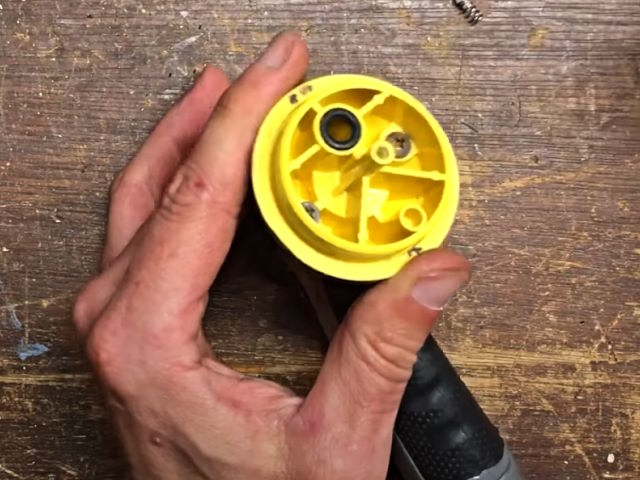
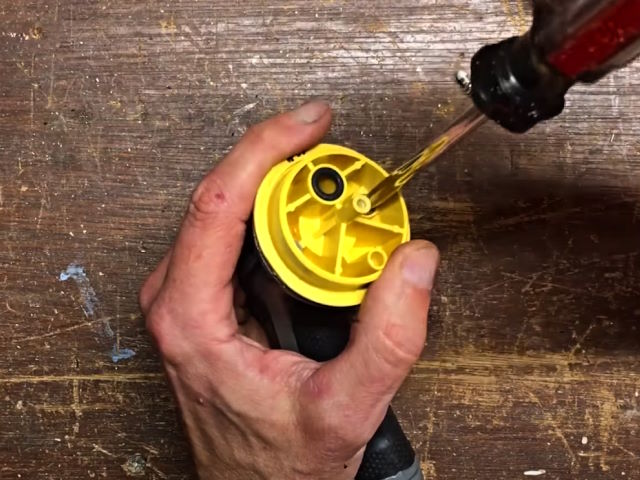
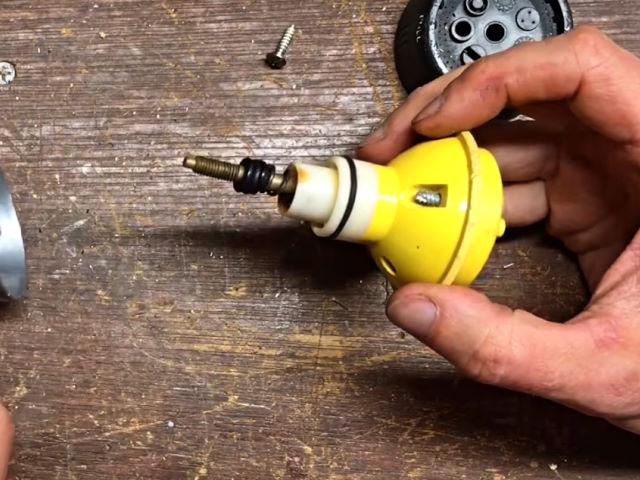
If the internal spring appears damaged or worn, now is a good time to replace it. This can ensure a smooth valve and trigger operation in the future.
Repairing Washers
The best option to mend your washers is simply to replace them. But that is not always so simple due to their unique sizes, not being easy to find at a local hardware store.
So you may decide to improve their watertight seal.
Apply Silicone Lubricant
If your hose leak is caused by a worn washer or gasket, some lubricant or silicone grease could save the day.
Remove the rubber apply a liberal amount of silicone lubricant to the rubber gasket and reattach it to the hose end. If that does not resolve your issue, you may need to try another method.
Beware, only use silicone lubricant. Don’t apply petroleum jelly or petroleum grease to natural rubber as it can cause rubber to degrade over time.
Use A Rubber Band or Teflon Tape
- Rubber band – Try wrapping a rubber band around the worn gasket to create a better seal. This can save a trip to the hardware store and stop the spurting water for a reasonable amount of time.
- Teflon or plumbers tape – I always recommend using Teflon tape to prevent hose leaks and stop my connectors from becoming stuck to a spigot or attachment in the long term. Simply wrap the plumber’s tape around the damaged washer and reassemble the fitting to create a tight seal.
If you have tried the above and still have water gushing from your attachment, then unfortunately it may be time to purchase a new fitting.
Additional Aspects To Consider
Turn Off The Water
Before attempting to patch up any watering or irrigation equipment, be sure to turn off the water supply at the hose bib to prevent any accidents, fluid spraying everywhere, or further damage.
It may sound simple, but I’ve forgotten to do this many times.
Check The Tightness
Do the connections fit snugly? Do they feel loose?
Often a simple tightening up of the connection between the hose and attachment can stop water emanating from it.
Also, ensure that the threads are clean and free of debris.
Examine The Hose
If the above steps do not solve the problem, check the pipe for any damage around the area of coupling to the nozzle.
We conducted a survey which revealed that only 29% of households with gardens regularly inspect their outdoor hoses for potential leaks.
If your pipe is split in the area or has a small rupture, you can try the following maintenance ideas:
- Remove and replace – Cut off the damaged part, replace the hose connector and ensure the clamp is secure.
- Tape – Apply waterproof tape to the damaged parts to stop the dribble. Many people use duct tape because it is normally available in the home, but my results with this have not been so good in the long term. Electrical tape with elasticity and weather resistance can be a good choice.
Don’t Overtighten The Connections
When reattaching the nozzle, make sure that it is tightened but do not overtighten it and risk damaging the threads.
Tips for Hosepipe Repairs
To avoid dealing with a damaged spout regularly, consider these preventive tips:
- Check your fittings and gaskets on a regular basis for signs of wear and tear.
- Attend to any visible spurting water early. Don’t leave them to get worse as it could become more expensive and time-consuming in the future.
- Keep some spare rubber washers or gaskets at home and replace them inside the fitting once per year.
- Use plumbers’ tape for connections between your hose, outdoor faucet, and attachments to prevent nozzle leaks and reduce the chance of them getting stuck together.
- Store your pipe properly on a hose reel or cart to avoid kinks or damage.
- Turn off the water supply when it is not in use.
- If you have high water pressure, consider decreasing it with a regulator. High water pressure can damage your equipment and plants.
- Drain the entire pipe after a watering session. Standing water can cause weathering to internal gaskets and negatively affect their integrity.
Final Thoughts
Fixing a leaky spray nozzle is a simple task that anyone can do with some simple tools and basic knowledge.
By following the steps above and taking good care of your gardening tools regularly, you can ensure that it lasts for many years to come.